1/4
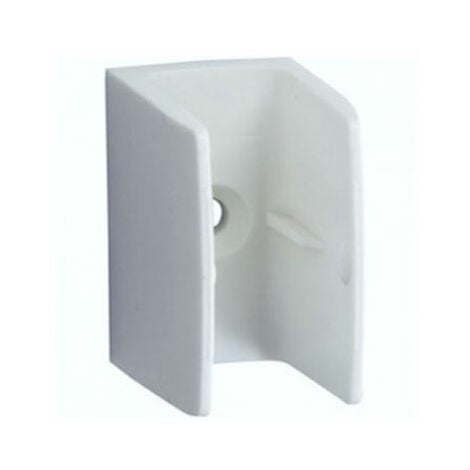
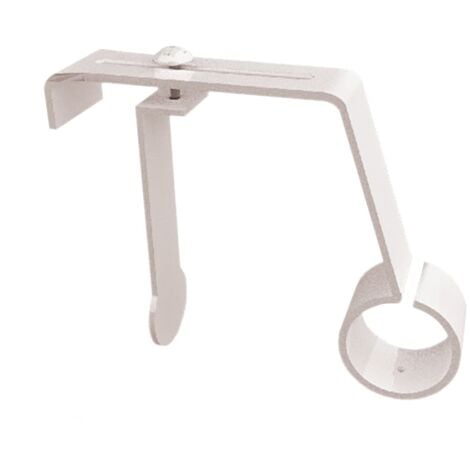
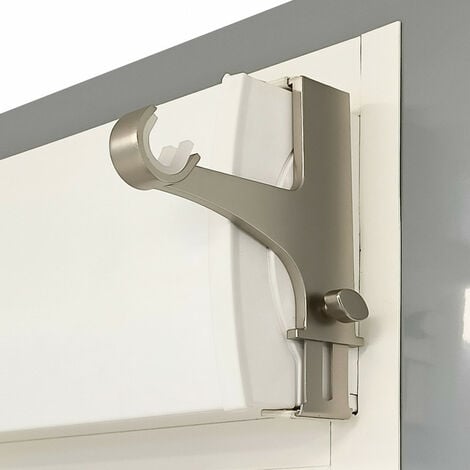
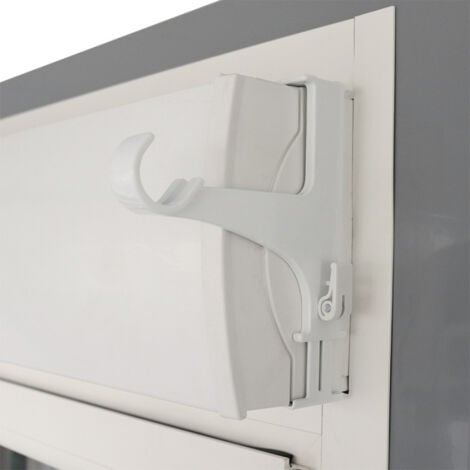
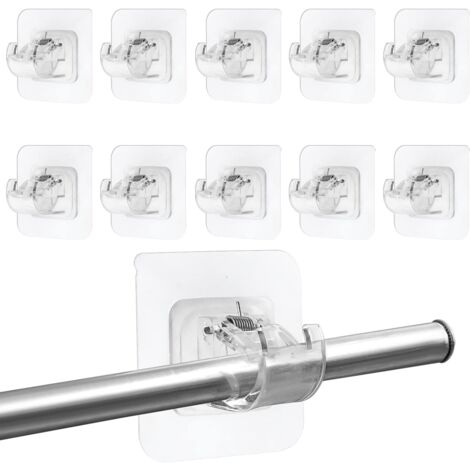
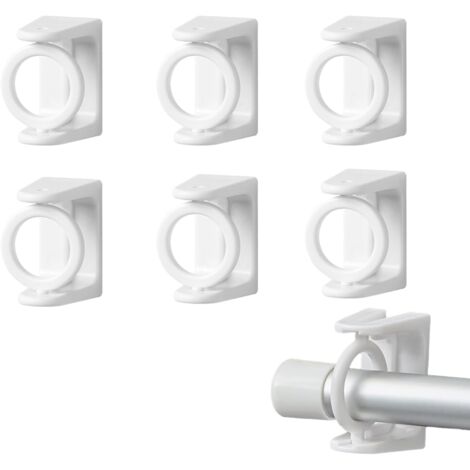
Roller Blind Brackets Easy to Use No Drilling Clamp Holder Plastic Material
Produit similaire livré par
'/%3E%3C/svg%3E)
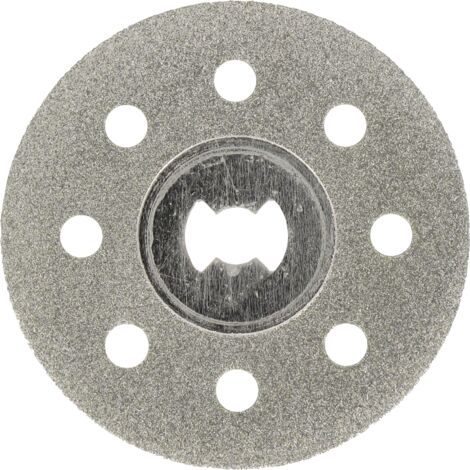
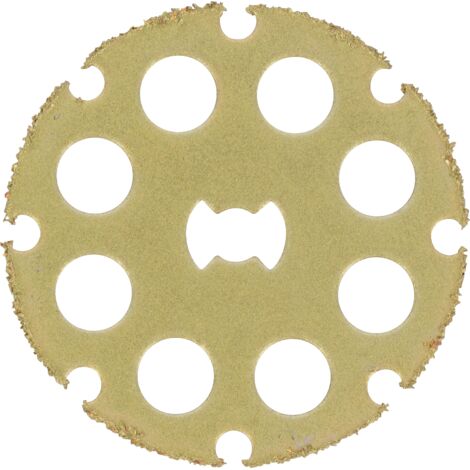
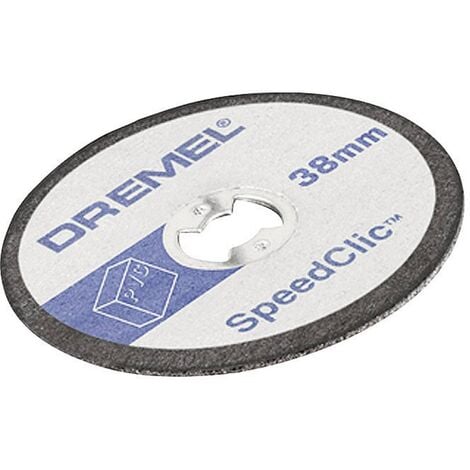
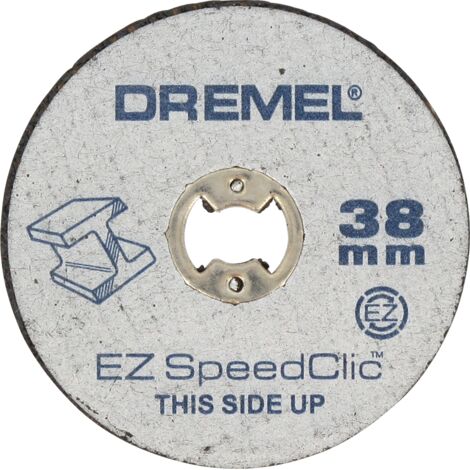
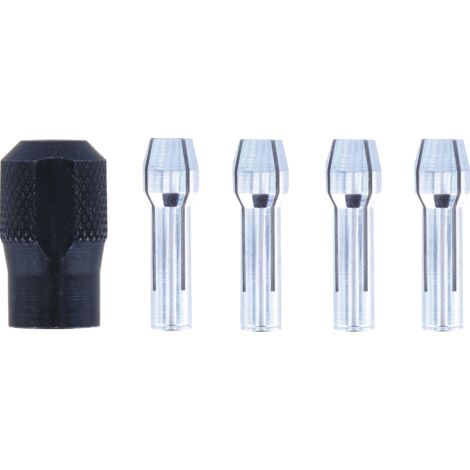
Disques à tronçonner pour métaux Dremel SC456B SpeedClic, jeu d'accessoires avec 12 disques à tronçonner pour couper des tuyaux métalliques, de l'acier trempé, du cuivre, des panneaux de cloison sèche
16,80 €
100
Vendu par RADANOS TRADING LTD
Ces articles peuvent vous intéresser !


Comparer à des articles similaires
Souvent achetés ensemble
Informations produit
Description
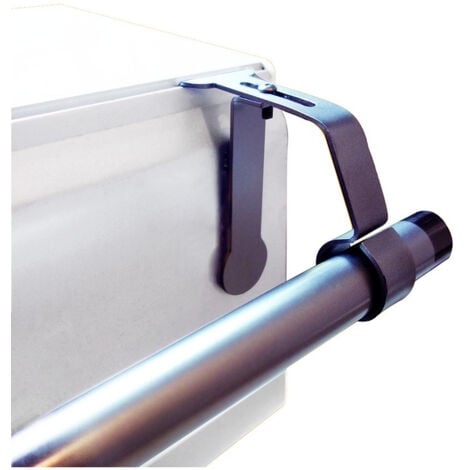
No drilling or tools required! Our clamp holder is adjustable and can be easily installed on PVC or wood windows and door wing.
Our clamp holder features quality plastic material. It is durable and will not peeling off easily, providing long lasting support.
Suitable for both roller blinds and double roller blinds, our clamp holder is designed to fit various window casements. It is perfect for homeowners looking to enhancing their window treatments effortlessly.
Perfect for those who want to avoid the hassle of drilling holes, our clamp holder offer a simple and convenient solution. It allows you to hang your roller blinds without damaging your windows or doors.
With our clamp holder, you can transform any room into a stylish and functional space. Whether it is your living room, bedroom, or office, this versatile accessory will add a touch of elegance to your window.
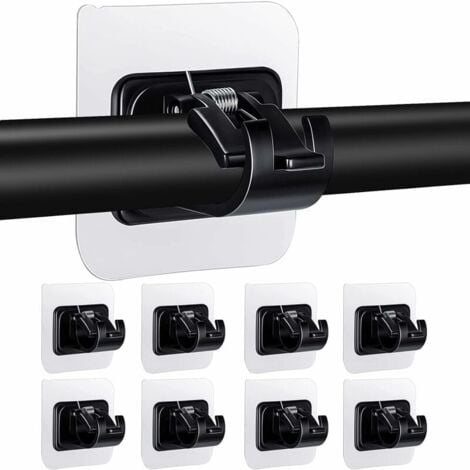
Specifications:
Material: Plastic
Width: Approx. 0.63inch(1.6cm)
Note:
Please allow 1-2cm errors due to manual measurement.
Due to the difference between different monitors, the picture may not reflect the actual color of the item.
Package includes:
4x Plastic Clamp Holders
Caractéristiques
- MarqueRDTD
- MatièresPlastique
- CouleurMulticouleur
- Réf. ManoManoME213143987
- MMID143500554873
Conseil par
Comment poser une tringle à rideau ?
Nul besoin d’être un as du bricolage pour poser une tringle à rideau. Il suffit d’avoir les bons équipements et accessoires, et de savoir prendre des mesures précises pour déterminer l’emplacement des supports. Découvrez dans ce tutoriel les étapes à suivre pour l’installer vous-même. À vos marques, prêt… percez !
'/%3E%3C/svg%3E)
Vous êtes ici :